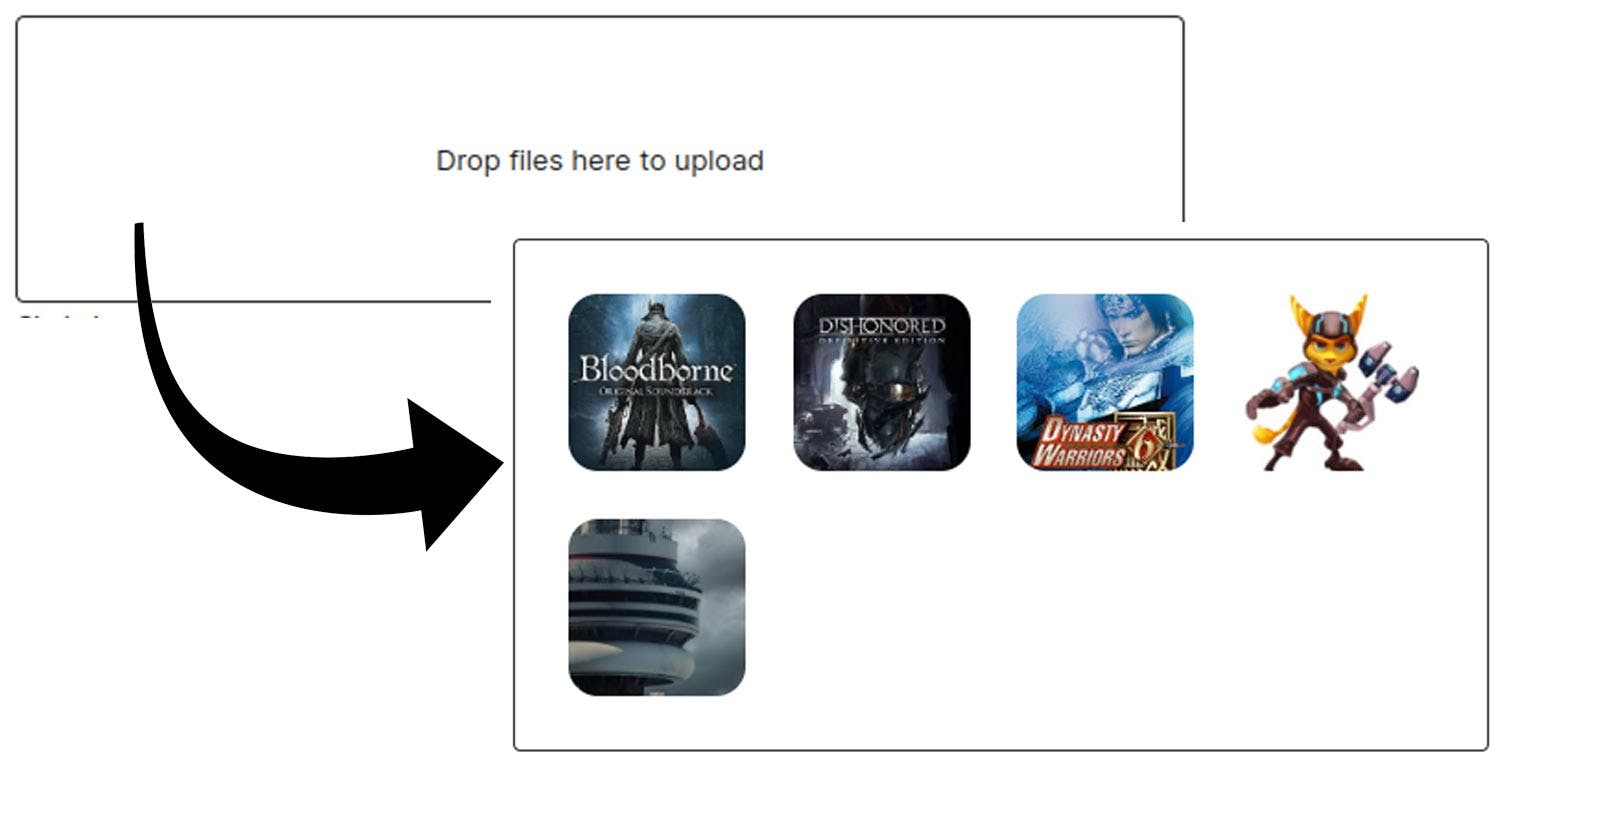
DropzoneJS direct uploads to Backblaze B2 in Phoenix Liveview.
Uploads files from your browser directly to your bucket.
Woah read that title again, what a mouthful.
I've spent the last five evenings after work trying to get this to work. I've cobbled together blog posts, forums posts, github issues, hell I've spelunked chinese stackoverflow content cloner websites trying to figure this out.
It was a pain in the ass!
I'm going to teach you how to presign a Backblaze B2 upload url using the b2_get_upload_url API method. We're then going to use that upload url to directly upload a file to your Backblaze B2 bucket from the browser.
Sounds simple right? Christ...
I hope this guide saves a collective thousands of hours out there. If this article helped you leave a comment please, I always enjoy reading those.
Create your Backblaze B2 bucket and set up CORS.
I'm not going to teach you how to create a bucket. Once you have your bucket, you need to use the Backblaze CLI to set up CORS for it. You cannot set up the right CORS rules in the Backblaze UI.
I'm using Linux, so I downloaded the Backblaze CLI and here's how I run it.
Make sure you have the right environment variables set before running the b2-linux binary.
export B2_APPLICATION_KEY_ID=""
export B2_APPLICATION_KEY=""
export B2_APPLICATION_KEY_NAME="my-awesome-bucket-name"
Then update the CORS rules. Note that you cannot pass in a filename like foobar.json you must pass in the content itself. Lots of people trip with this one.
# I'm assuming you have the `b2-linux` binary in your folder...
./b2-linux update-bucket --corsRules '[
    {
        "corsRuleName": "downloadFromAnyOriginWithUpload",
        "allowedOrigins": [
            "*"
        ],
        "allowedHeaders": [
            "*"
        ],
        "allowedOperations": [
            "b2_download_file_by_id",
            "b2_download_file_by_name",
            "b2_upload_file",
            "b2_upload_part"
        ],
        "maxAgeSeconds": 3600
    }
]' my-awesome-bucket-name allPublic
Now your bucket is ready to receive XHR from the browser.
Presigning URLs.
We're going to create a backblaze.ex module to do the presigning. I'm using req you can use whatever HTTP library you want.
defmodule MyApp.Backblaze do
  @b2_application_key System.get_env("B2_APPLICATION_KEY")
  @b2_application_key_id System.get_env("B2_APPLICATION_KEY_ID")
  @b2_application_key_name System.get_env("B2_APPLICATION_KEY_NAME")
  @b2_bucket_id System.get_env("B2_BUCKET_ID")

  def get_upload_url() do
    %{api_url: api_url, authorization_token: authorization_token} =
      get_api_url_and_authorization_token()

    request =
      Req.post!("#{api_url}/b2api/v2/b2_get_upload_url",
        headers: [{"authorization", "#{authorization_token}"}],
        json: %{bucketId: @b2_bucket_id}
      )

    request.body
  end

  def get_api_url_and_authorization_token() do
    auth_base_64 =
      "#{@b2_application_key_id}:#{@b2_application_key}"
      |> Base.encode64()

    response =
      Req.get!("https://api.backblazeb2.com/b2api/v2/b2_authorize_account",
        headers: [{"authorization", "Basic #{auth_base_64}"}]
      )

    api_url = response.body["apiUrl"]
    authorization_token = response.body["authorizationToken"]

    %{api_url: api_url, authorization_token: authorization_token}
  end
end
We also need an endpoint we can hit from the frontend.
scope "/api", MyAppWeb do
  pipe_through :api

  post "/presign-upload-url", PresignController, :presign
end
And the controller.
defmodule MyAppWeb.PresignController do
  use MyAppWeb, :controller
  alias MyApp.Backblaze

  def presign(conn, _params) do
    upload_url = Backblaze.get_upload_url()
    json(conn, %{upload_url: upload_url})
  end
end
Install DropzoneJS
Add dropzone to your package.json and npm i from inside of your /assets folder.
{
  "devDependencies": {
    "@tailwindcss/forms": "^0.5.2"
  },
  "dependencies": {
    "alpinejs": "^3.10.3",
    "dropzone": "^6.0.0-beta.2"
  }
}
Install the DropzoneJS css
Go to app.css and the import for Dropzone's styles.
@import "tailwindcss/base";
@import "tailwindcss/components";
@import "tailwindcss/utilities";

 /* ADD THIS */
@import "dropzone/dist/dropzone.css";
Add DropzoneJS to your hooks.
In app.js you want to import a file we are going to create in the next step.
// We're going to create this file in the next step!
import dropzone from "./dropzone";
And add it to your hooks object.
let hooks = {};

// Add this...
hooks.Dropzone = dropzone;

let liveSocket = new LiveSocket("/live", Socket, {
  params: { _csrf_token: csrfToken },
  hooks: hooks,
  dom: {
    onBeforeElUpdated(from, to) {
      if (from._x_dataStack) {
        window.Alpine.clone(from, to);
      }
    },
  },
});
Prepare your DropzoneJS form
In whatever heex template you have, add a form.
<form
  class="dropzone dz-clickable"
  id="dropzone"
  phx-hook="Dropzone"
  phx-update="ignore"
  enctype="multipart/form-data"
>
</form>
Alright we're done with all of the ceremony, now it's time to actually upload. Are you ready? We're almost there. Celebrate!

Create your dropzone.js file
This should live in assets/js/dropzone.js.
import Dropzone from "dropzone";

export default {
  mounted() {
    let csrfToken = document
      .querySelector("meta[name='csrf-token']")
      .getAttribute("content");

    function initUpload(file) {
      return new Promise(function (resolve, reject) {
        fetch("/api/presign-upload-url", {
          headers: {
            "Content-Type": "application/json",
            "Accept": "application/json",
            "X-Requested-With": "XMLHttpRequest",
            "X-CSRF-Token": csrfToken
          },
          method: "post",
          credentials: "same-origin",
          body: JSON.stringify({
            key: file.name
          })
        })
          .then(function (response) {
            resolve(response.json());
          });
      });
    }


    let myDropzone = new Dropzone(this.el, {
      url: "#",
      method: "post",
      acceptedFiles: "image/*",
      autoProcessQueue: true,
      parallelUploads: 1,
      maxFilesize: 25, // Megabytes
      maxFiles: 5,
      uploadMultiple: true,
      transformFile: async function (file, done) {
        let initData = await initUpload(file);
        file.uploadUrl = initData.upload_url.uploadUrl;
        file.authorizationToken = initData.upload_url.authorizationToken;

        done(file);
      },
      init: function () {
        this.on("sending", function (file, xhr, formData) {
          xhr.open(myDropzone.options.method, file.uploadUrl);

          xhr.setRequestHeader("Content-Type", "b2/x-auto");
          xhr.setRequestHeader("Authorization", file.authorizationToken);
          // If you want to upload to a "folder" you just set it as part of the X-Bz-File-Name
          // for example you can set the username from a `window.username` variable you set.
          // xhr.setRequestHeader("X-Bz-File-Name", `yeyo/${Date.now()}-${encodeURI(file.name)}`);
          xhr.setRequestHeader("X-Bz-File-Name", `${Date.now()}-${encodeURI(file.name)}`);
          xhr.setRequestHeader("X-Bz-Content-Sha1", "do_not_verify");

          let _send = xhr.send
          xhr.send = function () {
            _send.call(xhr, file);
          }
        });

        this.on("success", function (file, response) {
          // The response has all the info you need to build the URL for your uploaded
          // file. Use it to set values on a hidden field for your `changeset` for example
          console.log(response.fileId);
        });
      }
    });
  },
};
Guys... Dropzone is so vast and literally thousands of hours have gone into it by many different people but the documentation is very lacking. Herculean effort by the team and I owe them a lot of gratitude. It was painful for me to get this working. It's very hard to discern what to do and many of the options contradict other options and make it behave strange.
Even the example this article has some weirdness: you can't set parallelUploads: true otherwise only the last image actually gets uploaded. Weird right? But I'm happy with where this is today.
Hope this saved you at least an hour. If this didn't work for you, please leave a comment and I'll try to help out.
As next steps, throw up an imgproxy in front of your bucket for on the fly transformations. Then... throw up Bunny CDN in front of that for speed and lower your costs even more.

Now get to uploading and save big bucks by using Backblaze B2.

